If you’re looking for the perfect whole wheat buns recipe, you’ve come to the right place! Nothing beats the aroma of freshly baked, soft, and fluffy whole wheat buns filling your kitchen. Whether you’re making burgers, sandwiches, or dinner rolls, these homemade whole wheat buns are healthier, tastier, and free from preservatives.
This guide will walk you through everything you need to know about baking the best whole wheat buns recipe. We’ll cover why whole wheat is a better choice, the essential ingredients, step-by-step instructions, expert tips for achieving softness, storage methods, and even delicious variations to try.
If you’ve ever struggled with dense or dry buns, don’t worry! By the end of this guide, you’ll have a foolproof method for making bakery-style whole wheat buns at home. Let’s get started!
Introduction to Whole Wheat Buns
What Are Whole Wheat Buns?
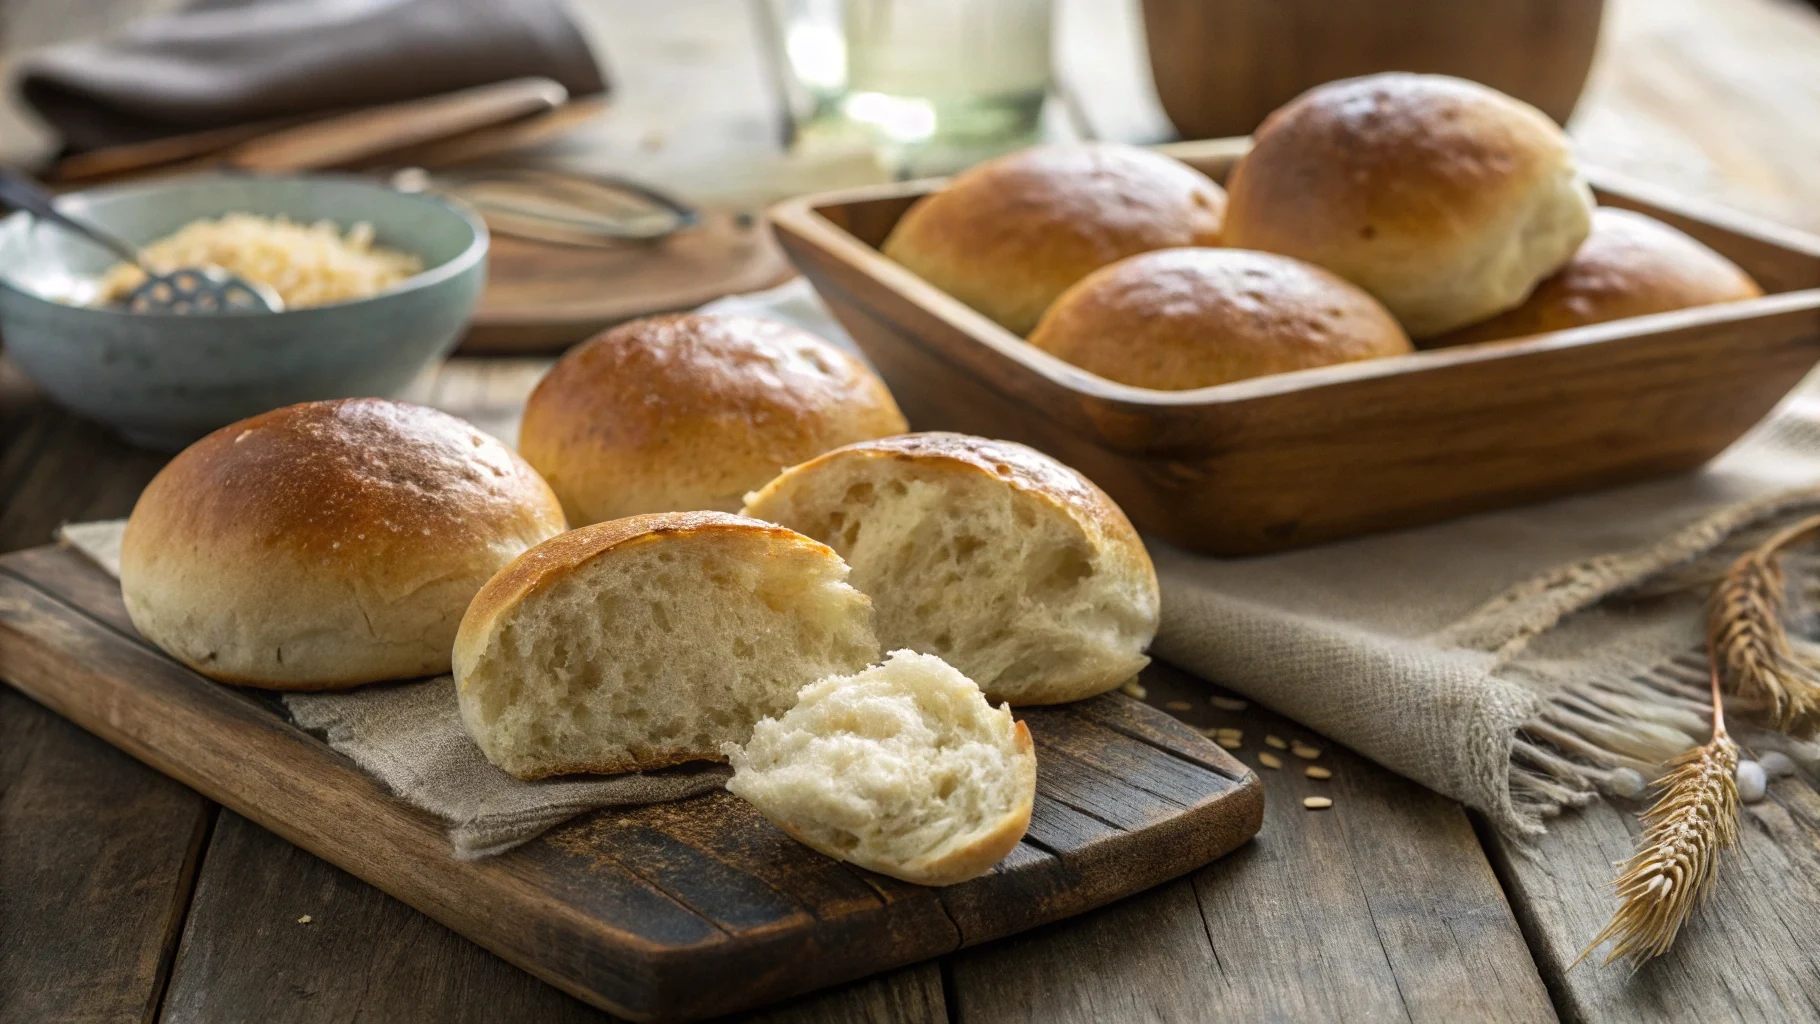
Whole wheat buns are bread rolls made primarily with whole wheat flour, offering a richer flavor and more nutritional value than regular white buns. Unlike traditional buns that use refined flour, these buns retain the wheat kernel’s bran and germ, making them high in fiber and essential nutrients.
These buns are incredibly versatile—they work as whole wheat burger buns, sandwich rolls, dinner rolls, or even breakfast buns. Plus, they have a deep, slightly nutty flavor that pairs beautifully with various toppings and fillings.
Why Choose Whole Wheat Over White Flour?
White flour may be the standard for most store-bought bread, but whole wheat flour is a game-changer. Why? Because it’s packed with:
- Fiber: Supports digestion and keeps you full longer.
- Vitamins & Minerals: Such as B vitamins, iron, and magnesium.
- Lower Glycemic Index: Prevents blood sugar spikes compared to refined flour.
Moreover, choosing homemade whole wheat buns means skipping preservatives, artificial flavors, and excess sugar commonly found in store-bought varieties.
Health Benefits of Whole Wheat Buns
If you’re looking for a healthier alternative to white bread, whole grain buns are the way to go. Some top health benefits include:
- Heart Health: Whole grains help lower cholesterol and reduce the risk of heart disease.
- Better Digestion: High fiber content keeps your gut happy.
- Weight Management: Whole wheat buns are more filling, reducing overeating.
Plus, if you make them at home, you can control the ingredients—choosing natural sweeteners like honey or adding seeds for extra nutrition.
Up next, let’s dive into the essential ingredients you’ll need to make the perfect whole wheat buns recipe! 🍞
Ingredients for the Perfect Whole Wheat Buns
Essential Ingredients for Soft Whole Wheat Buns
To create the perfect whole wheat buns recipe, you’ll need a handful of simple ingredients. Each one plays a key role in achieving that soft, fluffy texture while maintaining the rich, nutty flavor of whole wheat flour. Here’s what you’ll need:
- Whole Wheat Flour (3–4 cups): Opt for white whole wheat flour for a lighter texture or traditional whole wheat flour for a heartier bite.
- Active Dry Yeast (or Instant Yeast, 2¼ tsp): Helps the buns rise and develop a soft, airy crumb.
- Warm Water (1 cup, around 110°F): Activates the yeast and hydrates the flour.
- Honey or Sugar (2 tbsp): Adds a touch of sweetness and feeds the yeast for a better rise.
- Salt (1 tsp): Enhances flavor and balances the sweetness.
- Egg (1 large, optional): Improves texture and adds richness.
- Olive Oil or Butter (2 tbsp): Keeps the buns moist and soft.
- Milk (¼ cup, optional): Enhances tenderness and browning.
Optional Add-ins for Enhanced Flavor
Want to take your homemade whole wheat buns to the next level? Try these add-ins:
- Flaxseeds or Chia Seeds: Boost fiber and add a subtle crunch.
- Oats or Sunflower Seeds: Great for texture and a rustic touch.
- Garlic Powder or Herbs: Perfect for savory whole wheat dinner rolls.
Now that you’ve gathered your ingredients, let’s dive into the step-by-step process of making the best whole wheat buns recipe!

Step-by-Step Whole Wheat Buns Recipe
Preparing the Dough
First things first—activate your yeast! In a mixing bowl, combine warm water and honey (or sugar). Stir gently, then sprinkle the yeast on top. Let it sit for 5–10 minutes until frothy. This ensures the yeast is active and ready to make your buns rise beautifully.
Next, in a large bowl, whisk together whole wheat flour and salt. Once the yeast is activated, mix it into the dry ingredients, along with the egg (if using), milk, and olive oil or melted butter. Stir until a rough dough forms.
Kneading and First Rise
Now, it’s time to knead! Turn the dough onto a lightly floured surface and knead for 8–10 minutes until it becomes smooth and elastic. If it feels too sticky, add a tablespoon of flour at a time—just don’t overdo it, or your buns will be too dense!
Place the dough in a greased bowl, cover with a clean kitchen towel, and let it rise in a warm place for 1–1.5 hours, or until doubled in size.
Shaping the Buns
Once the dough has doubled, punch it down to release air bubbles. Divide it into 8–12 equal portions, depending on how large you want your buns. Roll each piece into a smooth ball and place them on a lined baking sheet, spacing them a few inches apart.
Second Rise and Baking Tips
Cover the shaped buns with a towel and let them rise for another 30–45 minutes until they puff up nicely. Meanwhile, preheat your oven to 375°F (190°C).
Before baking, brush the tops with melted butter or a milk wash for a beautiful golden-brown crust. Bake for 15–20 minutes, or until the tops are golden and the buns sound hollow when tapped.
Let them cool for a few minutes, then enjoy your freshly baked whole wheat buns! 🍞
Expert Tips for Soft and Fluffy Whole Wheat Buns
Choosing the Right Flour and Yeast
One of the biggest mistakes in baking whole wheat buns is using the wrong type of flour. While whole wheat flour is naturally dense, choosing white whole wheat flour or a mix of whole wheat and bread flour can make a huge difference in texture.
When it comes to yeast, always use fresh, active yeast. If you’re using dry yeast, proof it in warm water with a bit of sugar before adding it to your dough. This ensures a better rise and a lighter crumb.
Hydration and Dough Consistency
Whole wheat flour absorbs more liquid than white flour, which means your dough might need extra moisture. Add an extra tablespoon of water or milk if the dough feels too dry. A slightly sticky dough is ideal—it prevents the buns from becoming tough.
Another secret? Let the dough rest for 10–15 minutes after mixing before kneading. This allows the flour to hydrate fully and makes kneading much easier.
Avoiding Dense or Dry Buns
- Don’t over-knead the dough—it only needs about 8–10 minutes of kneading to develop enough gluten.
- Let the dough rise fully before baking. Under-proofed dough leads to heavy, dense buns.
- Use a steam method while baking—placing a small tray of water in the oven helps keep the buns moist.
- Brush with butter or milk after baking for a glossy, tender crust.
By following these tips, your whole wheat buns recipe will turn out soft and bakery-quality every single time! Now, let’s explore some delicious variations you can try.
Variations of Whole Wheat Buns
Honey Whole Wheat Buns
If you love a hint of natural sweetness, swap out sugar for honey in your dough. Honey not only adds a rich, slightly floral flavor but also helps retain moisture, making the buns extra soft. For an added touch, brush the tops with honey butter right after baking.
Whole Wheat Hamburger Buns
Looking for the perfect whole wheat burger buns? Simply shape your dough into slightly larger rounds and flatten them a bit before baking. For a classic burger bun look, sprinkle sesame seeds on top before popping them in the oven. These buns are sturdy enough to hold up to juicy patties while staying soft and fluffy inside.
Whole Wheat Dinner Rolls
For a smaller, more tender bun, shape the dough into mini rolls and bake them in a buttered baking dish. These rolls are ideal for serving alongside soups, stews, or even as a side for roasted meats.
Feeling creative? Try adding garlic, rosemary, or grated cheese for an extra punch of flavor!
Now that you have some tasty variations to try, let’s move on to the best ways to store and freeze your whole wheat buns so you can enjoy them anytime.
👉 For more homemade bread recipes, check out our Easy Homemade Bread Guide.
Storage and Freezing Instructions
Storing Fresh Buns for Longer Shelf Life
Once you’ve baked the perfect whole wheat buns recipe, keeping them fresh is key. If you plan to enjoy them within a few days, store them in an airtight container or a resealable bag at room temperature. This helps prevent them from drying out.
For best results, place a paper towel inside the container to absorb excess moisture and keep the buns soft. Avoid refrigerating them, as the cold air can make them go stale faster.
If your buns start to lose their softness, wrap them in a damp towel and microwave for 10–15 seconds to bring back their fresh-baked texture.
How to Freeze and Reheat Whole Wheat Buns
Want to save some for later? Freezing is a great option! Here’s how:
- Let the buns cool completely before freezing.
- Wrap each bun tightly in plastic wrap, then place them in a freezer-safe bag.
- Label with the date and freeze for up to 3 months.
To reheat, thaw at room temperature for 1–2 hours or microwave on low for 30 seconds. You can also wrap them in foil and warm them in a 300°F oven for 10 minutes.
Now that you know how to store your buns, let’s answer some frequently asked questions about making the best whole wheat buns recipe!
Frequently Asked Questions (FAQs)
How do I make whole wheat buns softer?
If your whole wheat buns turn out too dense, try adding a tablespoon of vital wheat gluten to the flour. This improves the elasticity and lightness of the dough. Also, using honey or olive oil helps retain moisture, making the buns softer.
Can I use whole wheat pastry flour instead?
Yes, but expect a slightly different texture. Whole wheat pastry flour is lower in protein, so the buns may not rise as much. If you want extra softness, mix it with bread flour for better results.
How do I make the buns rise faster?
A warm environment speeds up proofing. Try placing the dough in an oven with the light on or near a warm stovetop. You can also use a proofing box or cover the bowl with a damp towel to trap warmth.
Can I make whole wheat buns without yeast?
Absolutely! While yeast gives the buns a classic airy texture, you can use baking powder and yogurt as a substitute. This will create a more biscuit-like texture, perfect for quick, yeast-free buns.
With these FAQs covered, you’re now fully equipped to bake the perfect whole wheat buns! 🍞
Conclusion: Master the Perfect Whole Wheat Buns Recipe
Baking your own whole wheat buns is easier than you think, and the rewards are totally worth it! By using simple, wholesome ingredients and following the right techniques, you can create soft, fluffy, and healthy buns at home—perfect for burgers, sandwiches, or dinner rolls.
We’ve covered everything from choosing the right flour and yeast to expert baking tips, delicious variations, and proper storage methods. Whether you prefer classic whole wheat burger buns, honey-sweetened rolls, or savory dinner buns, this whole wheat buns recipe is completely customizable to fit your taste.
If you’ve ever struggled with dry or dense buns, remember: hydration, kneading, and proofing time are key factors in achieving bakery-quality results. And don’t forget—freshly baked buns always taste best, but proper storage and freezing methods ensure you can enjoy them anytime!
Now, it’s time to preheat your oven and bake a batch of these homemade whole wheat buns. Once you do, you’ll never want to buy store-bought buns again!
For more delicious homemade bread recipes, be sure to check out other baking guides and recipe collections on your favorite food blogs. 🍞✨